Many aviation photographers must contend with dust spots when editing their photos. Dust spots occur when foreign matter gets inside your camera and onto the sensor when changing lenses on your Digital SLR. They can become very visible and unsightly, especially when taking photos of aircraft against a solid blue or gray sky.
Aside from obvious dust spots, there may be many more that you do not see at first glance. However, they may easily be noticed by other people with different screen resolutions, settings or even when looking at the image while scrolling. Even worse, if you plan on submitting your shots to certain photo database sites, the trained screeners will most likely pick up on what you missed.
Dust spots are best removed when done physically by having a professional do it, or by trying to dislodge them by using a blower of some sort. Blowers are still not very reliable, as some will always be left behind. So when you’ve got 20 specks covering your screen it can easily demotivate us from sitting down to edit a large batch of photos. For those without a blower, cleaning skills or access to a professional, you will have to resort to removing them during post-processing in Photoshop.
I wanted to share with you all the workflow that I use to get rid of the spots. After a brief lesson on basic features such as Equalize, Layers and the Clone Stamp, I show you how you can remove them in 30 seconds once you get the procedure down.
The Equalize function is one that many people use, but when you have more than a few spots, it is annoying to Equalize, find a spot, remove it and then repeat that over and over a dozen or so times until they are all gone. Instead, this procedure lets you do remove them all with one Equalize pass.
If you have questions on this procedure, or would like to make suggestions on future tutorials, post comments below or please email me at phil [ at ] nycaviation.com.

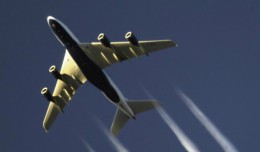
The end result. (Photo by Phil Derner, Jr.)